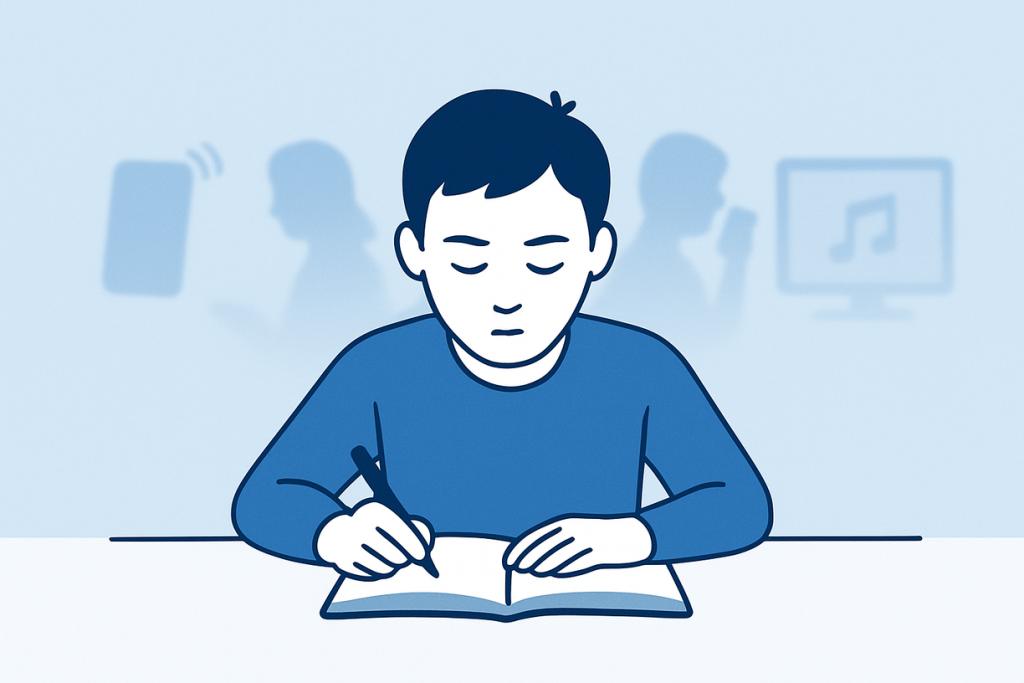
Want to create an Intelligent Tutoring System (ITS) that students actually use? Here are 10 key UI design practices to boost learning:
- Easy navigation
- Adaptive content
- Consistent design
- Clear feedback
- Personalization options
- Inclusive design
- Gamification elements
- Mobile optimization
- Error prevention
- Performance optimization
These practices help build ITS interfaces that are user-friendly and effective for learning. Let’s break them down:
| Practice | Why It Matters |
|---|---|
| Easy navigation | Keeps students focused on learning |
| Adaptive content | Matches each student’s needs |
| Consistent design | Builds trust and reduces confusion |
| Clear feedback | Guides and motivates students |
| Personalization | Lets users tailor their experience |
| Inclusive design | Makes the ITS work for everyone |
| Gamification | Boosts engagement |
| Mobile-friendly | Works well on all devices |
| Error handling | Keeps learning on track |
| Smooth performance | Prevents frustration |
By focusing on these areas, you can create an ITS that students want to use and that helps them learn better.
Related video from YouTube
What is ITS User Interface Design?
ITS User Interface (UI) Design is all about making learning software that’s a breeze to use. It’s the art of creating interfaces for Intelligent Tutoring Systems that students actually want to use.
Challenges in Educational Software Design
Designing for education? It’s not a walk in the park:
- Students learn differently. Some need extra help – over 14% of public school students have a learning disability.
- Keeping students interested is tough. Today’s kids are tech-savvy and hard to impress.
- The interface needs to work for students, teachers, and sometimes parents too.
Main Parts of an ITS Interface
A solid ITS interface usually has:
- A navigation menu
- A content area
- A feedback system
- A progress tracker
- Settings for personalization
Aims of Good ITS UI Design
What’s the goal? Simple:
- Make learning easier
- Keep students engaged
- Make it usable for everyone
Take Khan Academy, for example. Their blue color scheme? It’s not just pretty – it’s designed to create a calm learning environment. And it works. Millions of students use it to learn online every day.
Easy-to-Use Navigation
Clear navigation is key for any good Intelligent Tutoring System (ITS). It’s not about looks – it’s about helping students learn better.
Why does navigation matter in ITS?
- Keeps students focused on learning, not figuring out the system
- Helps students find what they need fast
- Makes learning smoother, leading to better results
Here’s how to create navigation that works:
Keep it simple
Aim for 5-9 main menu items. Too many choices can overwhelm students.
Example: Khan Academy’s main menu has just 6 items: Courses, Search, Donate, Login, Sign up, and a menu icon for more options.
Use clear labels
Skip fancy words. Use simple, descriptive labels.
Instead of "Resource Repository", try "Study Materials".
Group related items
Put similar things together. It helps students find stuff faster.
Make it consistent
Use the same navigation style on all pages. It helps students know what to expect.
Add a search bar
For when students know exactly what they’re looking for.
Use visual cues
Size, color, and spacing can guide attention. But don’t overdo it.
Test with real students
The best way to know if your navigation works? Ask your students.
Make it mobile-friendly
Your navigation needs to work well on phones and tablets too.
2. Content That Adjusts to Users
In Intelligent Tutoring Systems (ITS), one-size-fits-all doesn’t cut it. Students learn better when content matches their needs. Here’s how to make ITS content that adapts to each user:
Personalized Learning Paths
ITS should let students chart their own course. How?
- Choose topics and order
- Adjust difficulty based on performance
- Offer different media types
If a student struggles with math, show more step-by-step examples. If they’re acing it, throw in some tougher challenges.
AI-Driven Recommendations
AI can be your content matchmaker. It looks at:
- Past performance
- Learning speed
- Preferred content types
Then it suggests what to study next. Maybe it’s extra practice, or maybe it’s time to move on.
"Personalized learning makes content relevant to students and keeps them hooked."
Adaptive Difficulty
Content should flex with student performance. Keep it challenging, not frustrating.
| Performance | System Response |
|---|---|
| High scores | Ramp it up |
| Low scores | Dial it back or offer help |
| Consistent wins | Introduce new stuff |
Multi-Format Content
Everyone’s brain works differently. Offer a buffet of formats:
- Text explanations
- Video tutorials
- Interactive simulations
- Audio lessons
Let students pick their flavor. It boosts engagement and helps info stick.
Gradual Information Release
Don’t dump everything at once. Use the "I Do, We Do, You Do" method:
1. I Do: Show the solution
2. We Do: Solve together with hints
3. You Do: Let them fly solo (with a safety net)
This builds confidence and skills over time.
Emotional Adaptation
Content should read the room. If a student seems off:
- Switch topics
- Offer a breather
- Present info differently
A study on "Betty’s Brain" ITS found that happy students learned more. Go figure.
3. Consistent Look and Feel
A unified visual style in your ITS isn’t just eye candy. It builds trust, cuts confusion, and keeps students focused on learning.
Here’s how to nail it:
Color Scheme
Pick a color scheme and stick to it. Why? It’s professional and builds trust.
"Using the same colors across your course and website is elegant and professional, building trust with visitors and learners."
Keep it simple:
- 60% main color
- 30% secondary color
- 10% accent color
This balance keeps things interesting without going overboard.
Fonts
Fonts set the tone. Choose ones that match your brand and use them consistently:
- Headings
- Body text
- Buttons
- Menus
Consistency here makes your ITS feel solid.
Layout
Keep your layout consistent across screens. If the menu’s always in the header, users won’t get lost.
Take a cue from Hopper, the travel app. Their menu stays put in the header throughout the app. Small touch, big impact.
Design for Learning
Your ITS is for learning, so function comes first. Here’s how to balance looks and learning:
| Design Element | Learning Focus |
|---|---|
| Background | Soft colors for less eye strain |
| Text | High contrast for easy reading |
| Buttons | Bold colors to stand out |
| Icons | Consistent style for quick recognition |
Guide with Design
Use your design to highlight what’s important. In a data privacy course? Use bold blue for key legal terms against a soft gray background. It’s not just pretty – it helps important info stick.
Familiarity
Users like what they know. If your ITS feels similar to other apps, they’ll pick it up faster.
"Consistency makes it easier for users to navigate your app because they don’t have to learn new ropes."
Don’t copy others, but follow common patterns users expect.
Test and Refine
Your first design won’t be perfect. Use the CLASS framework:
- Create your design
- Let users try it
- Ask for feedback
- See what works (and what doesn’t)
- Tweak and try again
This cycle helps you refine your look and feel over time.
4. Clear and Helpful Feedback
Feedback is the heart of any Intelligent Tutoring System (ITS). It’s not just about right or wrong – it’s about guiding and motivating students to learn.
Here’s how to nail feedback in your ITS:
Timing Matters
| Feedback Type | Best For | Why It Works |
|---|---|---|
| Immediate | Short tasks | Activates reward-based learning |
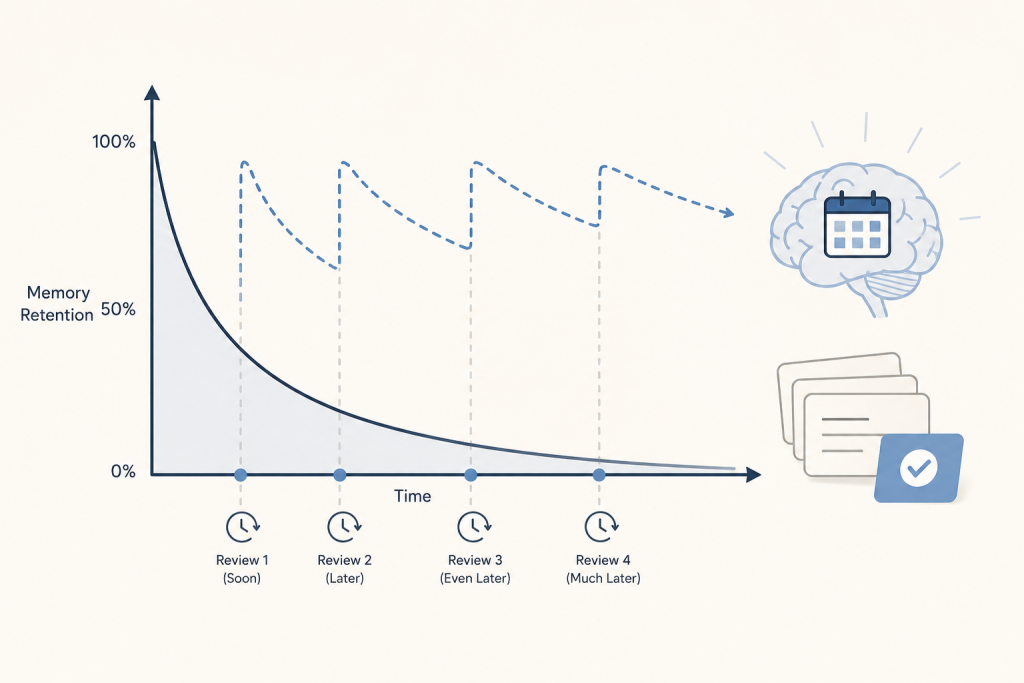
| Delayed | Complex tasks | Improves memory retention |
A University of Texas, El Paso study found engineering students who got delayed homework feedback scored higher on later exams than those with immediate feedback.
The ARCH Model
- Ask for self-assessment
- Reinforce what’s good
- Confirm what needs work
- Help plan improvements
This turns feedback into a two-way street.
Be Specific
Instead of "Good job!", try "Your solution to problem 3 shows you get Newton’s Second Law."
Use Visual and Sound Cues
- Green checkmarks for correct answers
- Red X’s for mistakes
- Celebratory sounds for achievements
- Gentle alert tones for errors
Spot Disengagement
A study on tablet-based tutors found they could predict student engagement with 73.3% accuracy using the device’s camera. Use this to trigger engaging feedback when attention drops.
Give Students Control
Offer options like "Check answer now" or "Get feedback later".
5. Options for Personal Settings
ITS interfaces need to balance user control and learning goals. Here’s how:
Let Users Customize
Give students options to tailor the ITS:
- Font size and type
- Color schemes
- Audio settings
- Notification preferences
Secure Preferences
Save settings across devices. Use secure storage to protect user data.
Keep It Simple
Don’t go overboard with options. Focus on what improves learning.
Easy Resets
Include a "Reset to Default" button.
Smart Access
Show or hide settings based on progress or course needs.
Ask for Feedback
Get user input on customization needs. Use surveys or in-app prompts.
sbb-itb-468d6b0
6. Design for All Users
Creating an ITS that works for everyone is a must. Let’s look at how to make it happen.
Make It Work for Everyone
Add these key features:
- Text-to-speech for reading help
- Speech-to-text for easier input
- Keyboard shortcuts for mouse-free use
- High contrast and text size options for better visibility
Follow Web Rules
Stick to WCAG guidelines. Here’s what they mean:
| Principle | Meaning | Example |
|---|---|---|
| Perceivable | Content is clear | Add alt text to images |
| Operable | Functions work for all | Ensure keyboard-only use |
| Understandable | Content is easy to get | Use clear, simple language |
| Robust | Works with various tools | Test across browsers |
Test with Real Users
Don’t guess. Test your ITS with people who have different needs. You’ll spot issues you might miss otherwise.
"Including diverse users in testing uncovers unique challenges and improves the design for everyone."
Use Universal Design for Learning (UDL)
UDL gives users options. It helps all students. Here’s how to use it:
1. Give learning choices
Offer content in text, audio, and video.
2. Allow different ways to show knowledge
Let students choose between writing, speaking, or projects.
3. Mix up engagement
Use both group and solo tasks to keep everyone interested.
Make It Work on All Devices
Many students use phones or tablets. Make sure your ITS works well on small screens.
Keep It Simple
A clean design helps everyone. Use clear headers, short paragraphs, and white space.
Add Helpful Tools
Include features like spell checkers, grammar helpers, and math equation editors. They help all students, especially those with learning disabilities.
7. Adding Game-Like Features
Want to make your ITS more engaging? Add some game-like features. Here’s how:
Points and Badges
Give users points for tasks and badges for milestones. It works:
BitDegree saw course completions jump 300% in 3 months. Users finished 50% faster.
Leaderboards
Show rankings. It sparks competition:
Microsoft’s program saw 264% more course engagement. Avon’s platform boosted completions and sales.
Progress Tracking
Let users see their advancement:
- Use progress bars
- Unlock levels as users learn
Rewards
Offer virtual or real prizes:
T-Mobile employees earned 180,000+ badges. Cisco motivated staff with titles like "Social Media Master", leading to 13,000 course completions.
Challenges and Quests
Set short-term goals:
- Daily challenges for regular engagement
- Weekly quests for habit-building
Making It Work
1. Keep it simple. Don’t overdo it.
2. Focus on learning. Games should help, not distract.
3. Test and adjust. See what works for your users.
4. Allow customization. Let users choose their game content.
5. Use storytelling. Make challenges part of a narrative.
Remember: game features should enhance learning, not replace it.
8. Works Well on Mobile Devices
Mobile devices are now the primary way people access online content. Your ITS interface needs to shine on smartphones just as much as on computers.
Here’s how to nail mobile-friendliness:
Adapt to Different Screens
Your interface should look great on any device:
- Use responsive design that adjusts to screen size
- Switch from multi-column layouts on desktops to single columns on phones
Absorb LMS does this well. Their learner dashboard shifts from three columns on desktop to one or two on mobile. It keeps things clean and usable, no matter what.
Make Touch-Friendly Buttons
On mobile, fingers rule. Make your ITS easy to tap:
- Buttons should be at least 7-10 mm wide (about fingertip size)
- Space out clickable elements to avoid mis-taps
Think About Thumb Zones
Most people use thumbs on phones. Put key features where thumbs can reach:
- Main actions at the bottom of the screen
- Avoid important buttons in top corners
Keep It Simple
Mobile screens are small. Don’t overwhelm users:
- Cut down on text
- Use clear, simple layouts
- Focus on must-have features
Speed Matters
Mobile users often have slower internet. Make your ITS snappy:
- Aim for load times under 3 seconds
- Optimize images and scripts for speed
Test on Real Devices
Don’t guess how your ITS will look on mobile. Actually test it:
- Use real phones and tablets
- Try different screen sizes and orientations
- Get feedback from real users
9. Preventing and Fixing Mistakes
Mistakes happen. But in an Intelligent Tutoring System (ITS), they shouldn’t throw users off track. Here’s how to handle errors smoothly and keep learning on course.
Stop Errors Before They Start
The best error? One that never happens. Here’s how:
- Clear instructions and labels
- Examples of correct input
- Highlight must-fill fields
- Dropdowns or radio buttons for limited choices
Crystal-Clear Error Messages
When things go wrong, your messages should help, not confuse:
- Pinpoint the issue
- Skip the tech talk
- Show how to fix it
- Keep it upbeat
Good error message example:
"Oops! That email address doesn’t look quite right. Double-check for typos and make sure there’s an @ in there."
Undo-Redo: The Safety Net
Undo and redo let users experiment without fear. To do it right:
- Make it work for the whole session
- Clear undo-redo buttons
- Give feedback when used
Team Conflicts? No Problem
Group learning can get messy. Here’s how to keep it clean:
- Flag when someone’s editing the same stuff
- Track changes
- Merge conflicting edits
Catch Errors on the Fly
Inline validation nips problems in the bud. It:
- Gives instant feedback
- Cuts frustration
- Speeds things up
Fun fact: Inline validation boosted task success by 22% and user happiness by 31% in one study.
Don’t Lose That Progress
Losing work to an error? The worst. Make sure your ITS:
- Autosaves often
- Keeps form data even if submit fails
- Lets users pick up where they left off
10. Making the System Run Smoothly
A fast ITS keeps users learning. Here’s how to make it happen:
Speed It Up
Slow systems frustrate users. Try these:
- Use a CDN
- Optimize images
- Enable GZIP compression
Clean Up Your Code
Efficient code is key. Do this:
- Cut HTTP requests
- Use lazy loading
- Split your code
Fix Database Issues
Slow queries? Here’s the fix:
| Problem | Fix |
|---|---|
| Slow queries | Add indexes |
| Complex joins | Simplify |
| Repeated data | Use caching |
Keep an Eye on Things
Watch your ITS closely:
- Track TTFB and LCP
- Aim for TTFB < 0.8s, LCP < 2.5s
- Test often
Think Mobile
Mobile matters. Make sure to:
- Test on different devices
- Use responsive design
- Optimize for touch
A smooth ITS isn’t just nice – it boosts learning.
Putting Best Practices Together
Combining ITS user interface design best practices isn’t a cookie-cutter process. It’s about finding the right mix for your system and users. Here’s how:
Start with User-Centered Design
Put users first. Trapeze, a software company, uses a Customer Discovery Program to get feedback from users of different agency sizes. This helps them spot issues before building interfaces.
Prioritize Based on Goals
Focus on practices that match your ITS goals:
| Goal | Priority Practices |
|---|---|
| Better learning outcomes | Adjust content, give clear feedback |
| More user engagement | Add game-like features, optimize for mobile |
| Improved accessibility | Design for all users, allow personal settings |
Test and Iterate
Don’t try everything at once. Start small and test. Bosch applied design thinking company-wide, leading to office and smart building redesigns. They involve diverse teams to boost innovation.
Balance Form and Function
Consider the whole user experience, from first click to long-term use.
Keep It Simple
When designing your ITS interface:
- Use 44×44 point controls (minimum) for easy tapping
- Make text at least 11 points for readability
- Keep high contrast between text and background
- Align elements to show relationships
Adapt for Mobile
With more mobile ITS users, optimize for smaller screens:
- Create flexible layouts
- Use touch-friendly UI elements
- Test on various devices
Wrap-Up
Let’s recap the key points for ITS user interface design:
- Make navigation easy
- Use adaptive content
- Keep design consistent
- Give clear feedback
- Offer personalization
- Design for inclusivity
- Add gamification elements
- Optimize for mobile
- Prevent errors
- Boost performance
These aren’t set rules. ITS UI design keeps changing. For instance, Instacart used a high-contrast grid for better accessibility, while Airbnb limited cover images per screen on mobile.
To stay on top:
- Listen to your users
- Do A/B testing
- Watch for new trends
Keep improving your ITS interface to make learning better.
Balance these as you use these practices, and you’ll create an ITS interface that works for your learners.